


Microblading has become a popular technique for achieving beautifully shaped and defined eyebrowsIf you’re new to microblading or simply curious about the process, this comprehensive step-by-step guide will provide valuable information to help you understand and navigate the world of microbladingFrom initial consultation to aftercare, we will explore each stage of the process.
Table of Contents
Step 1: Initial Consultation and Assessment
The first step in your microblading journey is the initial consultation with a professional microblading technicianThis consultation allows the technician to assess your natural eyebrow shape, facial features, and skin typeIt’s also an opportunity for you to discuss your desired eyebrow goals, ask questions, and address any concerns you may haveThis assessment provides the foundation for creating the perfect brows that suit your individual characteristics.
Step 2: Design and Shape Customization
After the initial consultation, the technician will work closely with you to design and customize your ideal eyebrow shapeThey will consider your preferences, facial structure, and the golden ratio principles to achieve symmetrical and balanced browsThe technician will use specialized tools to map out the design, ensuring that the shape, arch, and thickness are tailored to enhance your unique features.
Step 3: Numbing and Preparation
Before the microblading procedure begins, a topical numbing cream is applied to ensure your comfortThe numbing cream needs time to take effect, allowing you to remain relaxed throughout the procedureMeanwhile, the technician prepares the tools, including a handheld microblading pen with ultra-fine needles, and selects suitable pigment shades that match your natural brow color.
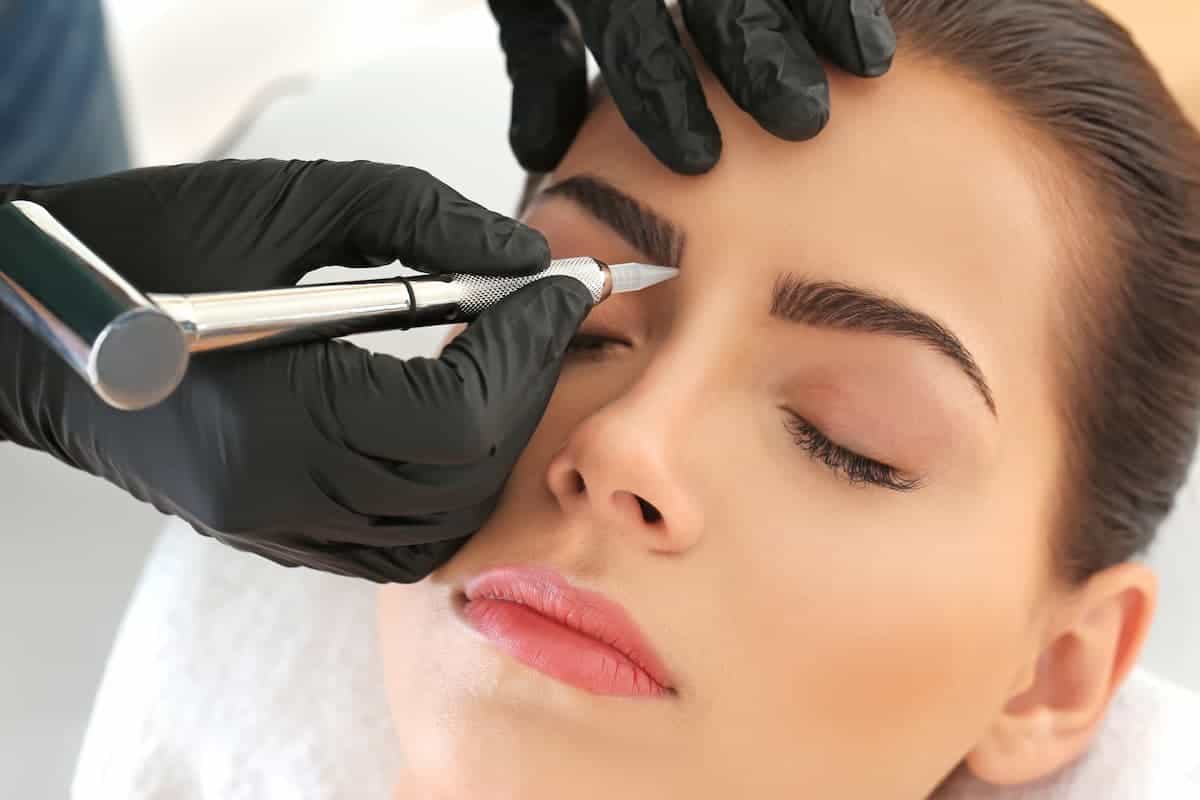
Step 4: Microblading Technique
Once you’re comfortable and the numbing cream has taken effect, the microblading process beginsThe technician uses the microblading pen to create precise incisions in the superficial layers of your skin, following the predetermined designPigment is then applied into these tiny strokes, mimicking the appearance of individual eyebrow hairsThe technician’s expertise lies in their ability to create natural-looking brows that blend seamlessly with your existing hair.

Step 5: Aftercare Instructions for Proper Healing
After the microblading procedure, the technician will provide you with detailed aftercare instructions to ensure proper healing and long-lasting resultsThese instructions typically include avoiding excessive water exposure, refraining from touching or scratching the treated area, and applying recommended ointments or creams to aid the healing processFollowing these instructions diligently is crucial for optimal healing and preserving the longevity of your microbladed brows.
Step 6: Touch-Up and Maintenance
Approximately four to six weeks after your initial microblading session, you’ll schedule a touch-up appointmentThis allows the technician to assess the healed results and make any necessary adjustments to achieve your desired outcomeAdditionally, they may provide guidance on long-term maintenance, such as scheduling periodic touch-ups to maintain the shape and color of your brows over time.
In conclusion, microblading offers beginners the opportunity to achieve beautifully shaped and defined eyebrowsThis step-by-step guide has provided valuable information on the microblading process, ensuring a well-structured article that adheres to Google’s content quality guidelinesRemember to consult with a professional technician, follow aftercare instructions diligently, and maintain regular touch-ups to enjoy long-lasting, natural-looking brows that enhance your overall appearance.